
How This Nourishes Your Body
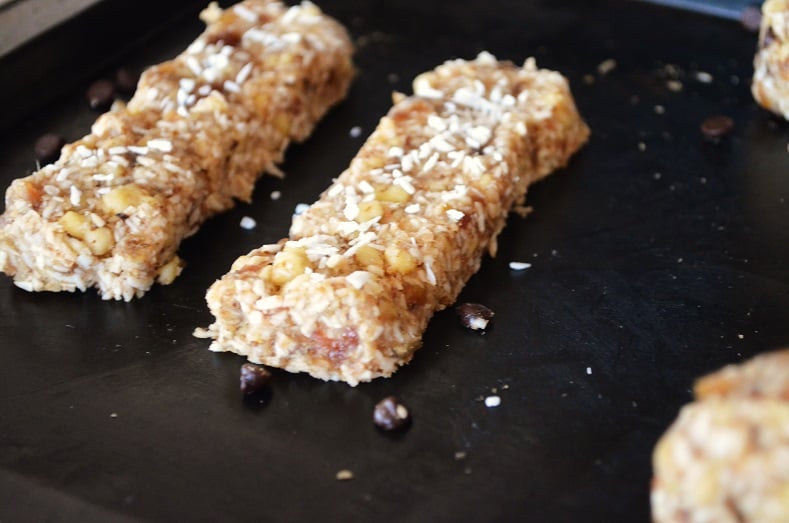
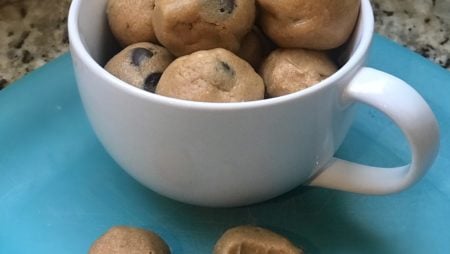
Homemade Lara Bars
Lara Bars are amazing. Whenever I am on the go, it is always nice to have good snacks that I can just grab and not think about. Check out a few of my favorite travel snacks here!
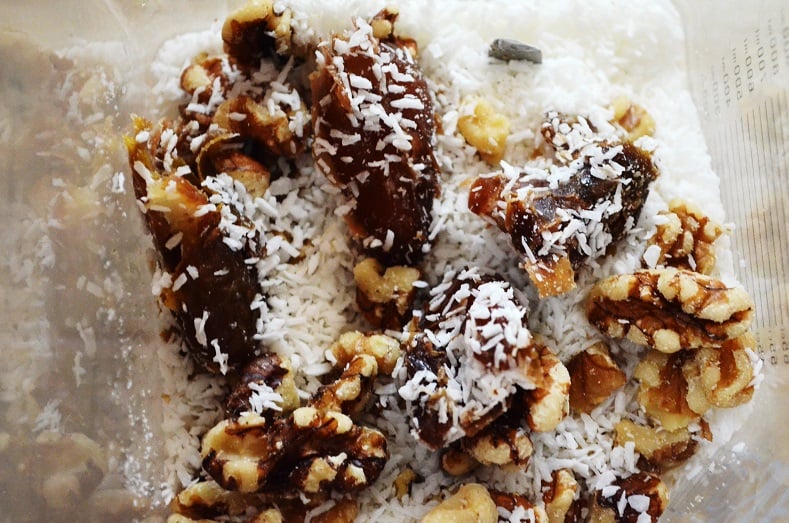
If you have heard of Lara bars, these are pretty much it! I love buying those bars because they are filled with simple ingredients, unlike most bars available today that have an ingredient list a mile long. Although I love this, I also thought it was silly to spend money buying them when they can easily be made at home, with whatever twist I want.
Notes for Lara Bars
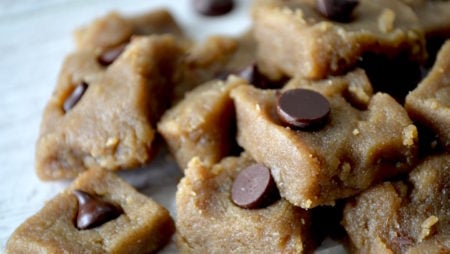
These are a basic bar: feel free to get creative by adding some chopped apples, cinnamon, chocolate chips, lemon juice, cacao powder, or whatever else your heart desires!
Cooking Instructions
1. Place all ingredients in a high speed blender or food processor and blend until fully combined. You may have to stop the blender and mix a couple times. You could also pulse the nuts first, then add the rest to make it easier on the blender.
2. Place mixture in the size container that you want your bars to be shaped, length wise and height wise. Place mixture in freezer for 15-30 minutes to firm up so you can cut into the shape and bars you would like. Store in fridge or freezer.

Nutritional Information
Ingredients
join more than 25,000 others!
RENEWING POSTS +
YOUR INBOX
= A RENEWED LIFE!


No Comment
You can post first response comment.

No Comment
You can post first response comment.